
Cider has been enjoyed for centuries as a refreshing and flavorful beverage. Making your own cider at home can be a fun and rewarding experience that allows you to tailor the taste to your preferences. With a few simple ingredients and some patience, you can create your own delicious cider to enjoy with friends and family. In this guide, we will walk you through the steps to make your own cider at home.
Choosing the Right Apples
The key to making great cider is starting with the right apples. While any apple can technically be used to make cider, certain varieties are better suited for this purpose. Look for apples that have a good balance of sweetness, acidity, and tannins. Some popular cider apple varieties include Kingston Black, Dabinett, and Yarlington Mill. If you can’t find these specific varieties, a mix of sweet, tart, and bitter apples will also work well.
Preparing the Apples
Once you have chosen your apples, it’s time to prepare them for cider making. Wash the apples thoroughly to remove any dirt or debris. You can then core and chop the apples into small pieces, making sure to remove any bruised or damaged parts. Some recipes may call for crushing the apples to extract the juice more efficiently, so a cider press or even a juicer can be handy for this step.
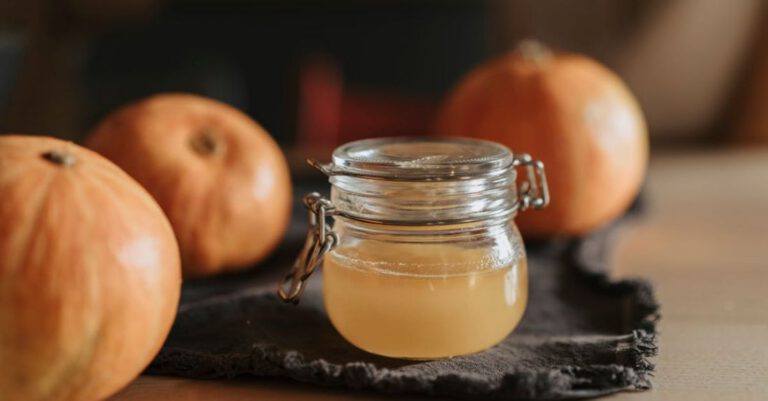
Fermentation Process
After preparing the apples, it’s time to start the fermentation process. Place the chopped apples in a clean container, such as a fermentation bucket, and crush them to extract the juice. If you don’t have a juicer or cider press, you can use a potato masher or even your hands to crush the apples. Once you have extracted the juice, add a small amount of sugar to help kickstart the fermentation process. You can also add yeast to help ensure a consistent and thorough fermentation.
Fermenting the Juice
Cover the container with a clean cloth or lid that allows air to pass through but keeps out insects and debris. Place the container in a cool, dark place and let the juice ferment for several weeks. During this time, the natural yeasts present on the apples will begin to ferment the sugars in the juice, turning it into alcohol. Make sure to check on the cider regularly and stir it gently to ensure even fermentation.
Bottling and Aging
Once the cider has finished fermenting, it’s time to bottle and age it. Carefully siphon the cider into clean bottles, leaving any sediment behind. Seal the bottles with caps or corks and store them in a cool, dark place to age. The longer you let the cider age, the more complex its flavors will become. Some ciders may benefit from aging for several months or even years before they reach their peak flavor.
Enjoying Your Homemade Cider
After the cider has aged to your liking, it’s time to enjoy the fruits of your labor. Chill the cider in the refrigerator before serving it to enhance its flavors. Homemade cider can be enjoyed on its own or paired with a variety of foods, such as cheese, charcuterie, or grilled meats. Share your homemade cider with friends and family to spread the joy of homemade beverages.
In conclusion,
Making your own cider at home is a rewarding experience that allows you to create a unique and flavorful beverage tailored to your tastes. By choosing the right apples, fermenting the juice, and aging the cider, you can enjoy a delicious and refreshing drink that showcases the best of the season’s harvest. So gather your apples and equipment, and start brewing your own cider today. Cheers to homemade goodness!