Preserving the Sweetness: How to Make Your Own Homemade Preserves
Preserves are a delightful way to enjoy the flavors of fresh fruits long after their peak season has passed. Whether you have a surplus of ripe berries, peaches, or any other fruit, making your own homemade preserves is a rewarding and delicious endeavor. Not only do homemade preserves taste better than store-bought versions, but they also allow you to control the ingredients and sweetness levels to suit your preferences. In this guide, we will walk you through the simple steps to create your own batch of flavorful preserves that you can enjoy throughout the year.
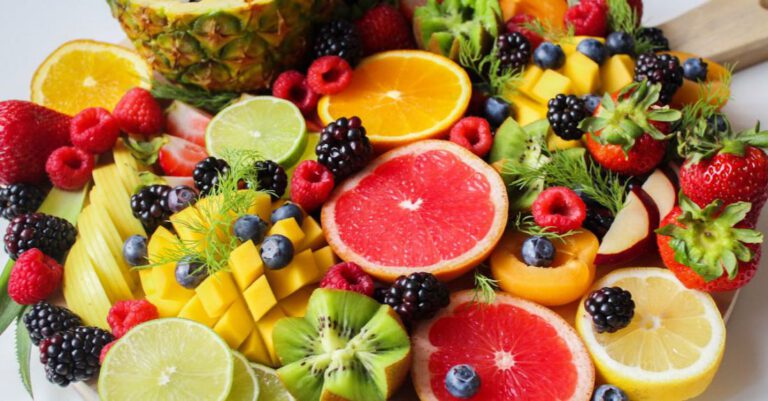
Selecting the Perfect Fruit
The key to delicious homemade preserves is starting with high-quality, ripe fruit. Choose fruits that are at their peak ripeness, as this will ensure that your preserves have the best flavor. Whether you prefer classic strawberry preserves or want to experiment with unique combinations like peach and lavender, the possibilities are endless. Be sure to wash and thoroughly dry your fruit before starting the preserving process.
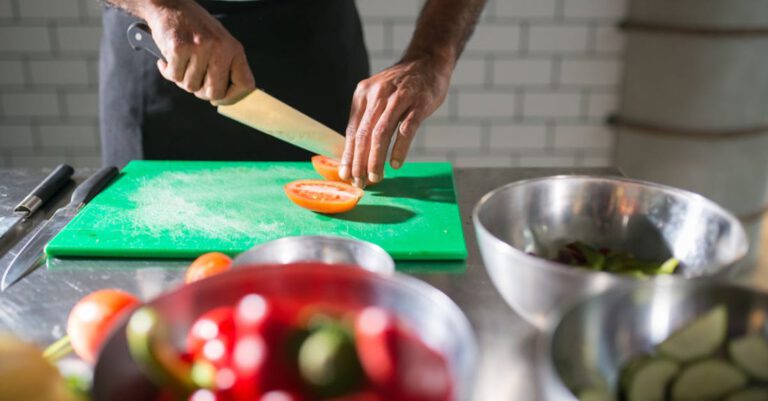
Preparing the Fruit
Once you have selected your fruit, it’s time to prepare it for the preserving process. Depending on the type of fruit you are using, you may need to peel, pit, or chop it into smaller pieces. For berries, simply rinse and remove any stems or leaves. If you are using stone fruits like peaches or plums, make sure to remove the pits and chop the fruit into uniform pieces. The goal is to have consistent-sized fruit pieces for a more even texture in your preserves.
Cooking the Preserves
To begin the preserving process, combine your prepared fruit with sugar and a splash of lemon juice in a large pot. The sugar helps to sweeten the preserves and acts as a natural preservative, while the lemon juice adds a bright zing of acidity. Cook the fruit mixture over medium heat, stirring occasionally, until the fruit begins to break down and the mixture thickens. This process can take anywhere from 20 to 45 minutes, depending on the type of fruit you are using.
Testing for Doneness
To test if your preserves are ready, place a small spoonful of the mixture on a chilled plate and let it cool for a minute. If the preserves hold their shape and have a jam-like consistency, they are ready to be canned. If the mixture is too runny, continue cooking for a few more minutes and test again. It’s important to achieve the right balance of fruit, sugar, and pectin for a perfect set.
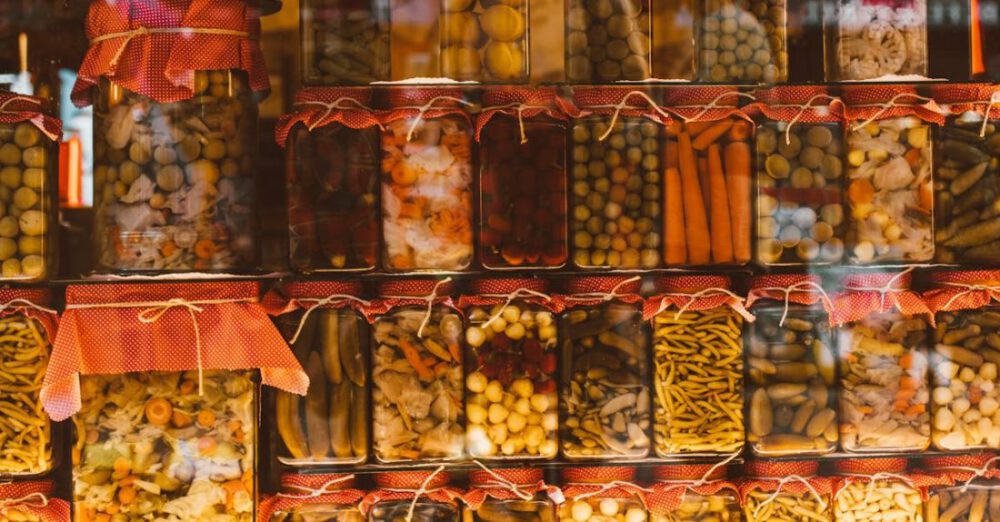
Canning the Preserves
Once your preserves have reached the desired consistency, it’s time to transfer them into sterilized jars for canning. Using a ladle, carefully fill each jar with the hot preserves, leaving a small amount of headspace at the top. Wipe the rims of the jars with a clean towel to ensure a proper seal, then place the lids on top and tighten the bands. Process the jars in a boiling water bath for the recommended time based on your recipe and altitude.
Enjoying Your Homemade Preserves
After the canning process is complete, allow the jars to cool to room temperature before storing them in a cool, dark place. Homemade preserves can last up to a year when properly sealed and stored. Enjoy your preserves on toast, yogurt, ice cream, or as a flavorful addition to baked goods. Experiment with different fruit combinations, spices, and herbs to create unique preserves that reflect your taste preferences.
Preserving the Sweet Memories
Making your own homemade preserves is a wonderful way to capture the essence of the season and enjoy the flavors of your favorite fruits year-round. Whether you are a seasoned preserver or trying it for the first time, the process of making preserves is both rewarding and delicious. So gather your fruit, sugar, and jars, and start preserving the sweetness today. Your taste buds will thank you for it!