Preserving fruits and vegetables at home is a rewarding way to enjoy the flavors of the season all year round. Whether you’ve made a batch of delicious jams, jellies, or pickles, knowing how to store your homemade preserves properly is crucial to maintaining their quality and flavor. Improper storage can lead to spoilage and waste, so it’s essential to follow the right steps to ensure your preserves stay fresh and tasty for as long as possible.
Choosing the Right Containers
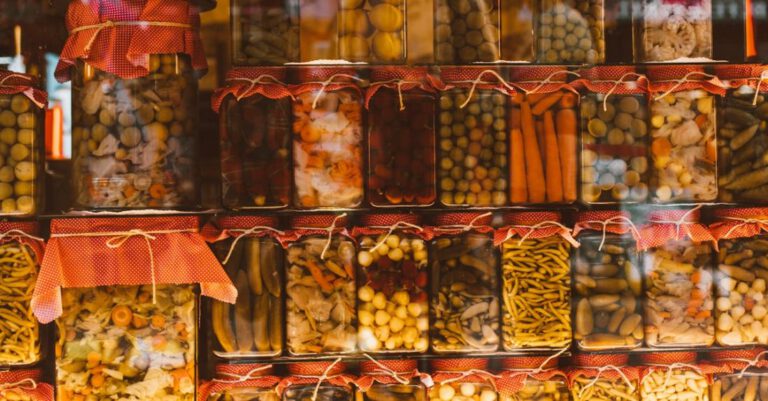
Selecting the right containers for storing your homemade preserves is the first step in maintaining their quality. Glass jars with airtight seals are ideal for preserving jams, jellies, and pickles. Make sure the jars you use are in good condition, with no cracks or chips that could compromise the seal. Mason jars are a popular choice for home canning, as they are durable and provide a tight seal to keep air out and flavors in.
Clean and Sterilize
Before filling your jars with preserves, it’s crucial to clean and sterilize them properly to prevent bacterial contamination and spoilage. Wash the jars, lids, and bands in hot, soapy water and rinse them thoroughly. To sterilize the jars, you can either use a boiling water bath or run them through a dishwasher cycle. Make sure the jars are completely dry before filling them with your homemade preserves to prevent mold growth.
Filling and Sealing
When filling your jars with preserves, leave the appropriate amount of headspace as recommended in your recipe. Wipe the rims of the jars with a clean, damp cloth to ensure a proper seal. Place the lids on the jars and screw on the bands just until they are fingertip tight. Avoid overtightening the bands, as this can prevent air from escaping during processing and lead to seal failure.
Cooling and Testing
After filling and sealing your jars, allow them to cool at room temperature for 12 to 24 hours. Once cooled, check the seals by pressing down on the center of the lid. If the lid does not flex or make a popping sound, the jar is properly sealed. Any unsealed jars should be refrigerated and consumed promptly.
Storage Conditions
Proper storage conditions are essential for maintaining the quality of your homemade preserves. Store your jars in a cool, dark place away from direct sunlight and heat sources. A pantry or cupboard is an ideal location for storing your preserves. Avoid storing jars near sources of heat, such as stoves or ovens, as this can cause the contents to spoil more quickly.
Labeling and Rotation
To keep track of your homemade preserves and ensure you use them before they spoil, it’s essential to label each jar with the contents and date of preparation. Use a permanent marker or labels to note the type of preserve and the date it was made. Additionally, practice proper rotation by placing newly made preserves at the back of your storage area and using older ones first to prevent waste.
Checking for Spoilage
Periodically check your homemade preserves for signs of spoilage, such as mold growth, off odors, or discoloration. If you notice any of these signs, discard the contents of the jar immediately to prevent contamination of other preserves. It’s always better to be safe than sorry when it comes to food safety.
Final Thoughts
Storing your homemade preserves properly is key to enjoying them for months to come. By following these simple steps, you can ensure that your preserves stay fresh, flavorful, and safe to eat. From choosing the right containers to practicing proper labeling and rotation, taking care in how you store your homemade preserves will help you savor the taste of your hard work long after the harvest season has passed.