
Preserving fruits and vegetables by making homemade preserves is a wonderful way to enjoy the flavors of the season all year round. Whether you are new to the world of canning or a seasoned pro, mastering the art of making preserves requires the right techniques to ensure your creations are not only delicious but also safe to eat. In this article, we will explore some of the best techniques for making preserves that will help you achieve perfect results every time.
Choosing the Right Ingredients
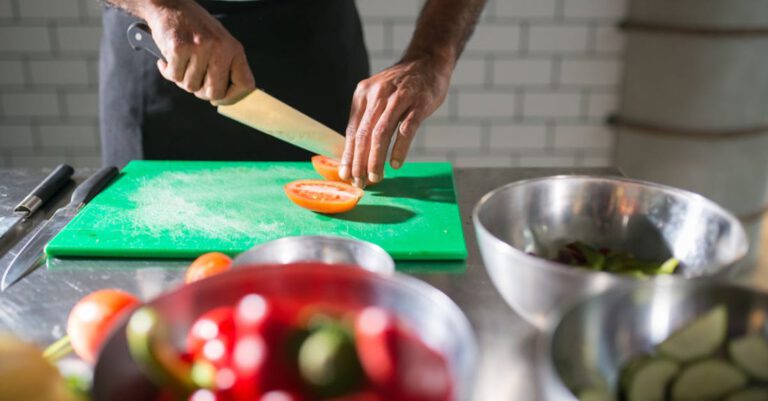
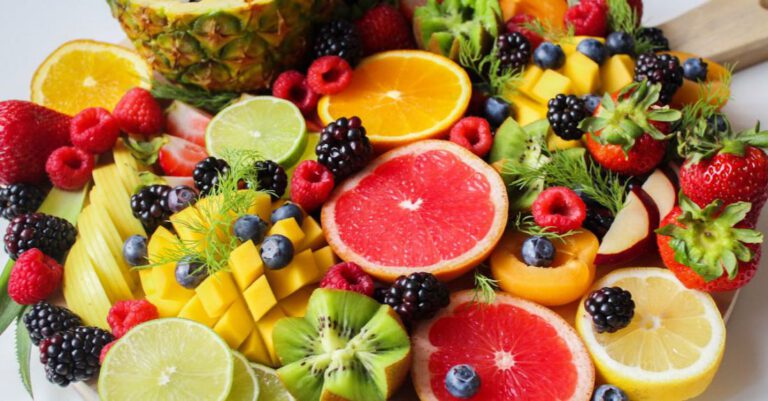
The key to making delicious preserves starts with selecting the best quality ingredients. Opt for ripe, fresh fruits and vegetables that are in season for the best flavor. It is essential to use produce that is free from any blemishes or bruises, as this can affect the overall taste and texture of your preserves. Additionally, make sure to wash and prep your ingredients thoroughly before starting the preserving process to ensure cleanliness and food safety.
Preparing Your Equipment
Before you begin making preserves, it is crucial to gather all the necessary equipment and ensure that it is clean and in good working condition. Some essential tools you will need include a large pot for cooking the preserves, glass jars with lids for storing the finished product, a canning rack, a funnel for filling the jars, and a ladle for transferring the preserves. Make sure to sterilize your jars and lids before filling them to prevent contamination and spoilage.
Cooking the Preserves
One of the most critical steps in making preserves is the cooking process. The key to successful preserves is achieving the right consistency and flavor, which requires careful attention to detail. Start by cooking your fruit or vegetable mixture over low to medium heat, stirring frequently to prevent scorching. As the mixture cooks down, you will notice it thickening and developing a glossy sheen. Use a candy thermometer to ensure that your preserves reach the proper temperature for optimal texture and preservation.
Testing for Doneness
To determine if your preserves are ready, perform a simple gel test. Place a small amount of the hot mixture on a chilled plate and let it cool for a minute. If the preserves form a gel-like consistency and hold their shape, they are done. If the mixture is too runny, continue cooking and retest until you achieve the desired consistency. It is essential not to overcook your preserves, as this can result in a stiff or rubbery texture.
Filling and Sealing the Jars
Once your preserves are cooked to perfection, it is time to fill and seal the jars. Using a sterilized funnel, carefully ladle the hot preserves into the jars, leaving a small amount of headspace at the top. Wipe the rims of the jars clean with a damp cloth to ensure a proper seal, then place the lids on top and screw on the bands until they are fingertip tight. Process the filled jars in a boiling water canner according to the recommended time for the type of preserve you are making.
Storing and Enjoying Your Preserves
After processing, allow your preserves to cool completely before storing them in a cool, dark place. Properly sealed jars can be stored for up to a year, although they are best enjoyed within the first six months for optimal flavor. Once opened, refrigerate any leftover preserves and consume them within a few weeks. Preserves make a delightful addition to breakfast toast, desserts, and savory dishes, adding a burst of flavor to any meal.
Incorporating these techniques into your preserving routine will help you create delicious and safe homemade preserves that you can enjoy throughout the year. Experiment with different fruits, vegetables, and flavor combinations to create unique preserves that suit your taste preferences. With practice and patience, you will become a master preserver, delighting your family and friends with your homemade creations. Start preserving today and savor the taste of the season all year round.